Three Square
Easy camp recipes to add to your cooking rotation
Backpacker’s Granola in a Bag
Sometimes you just need to get going in the morning, and this granola and powdered milk combo is a great way to kickstart your day.
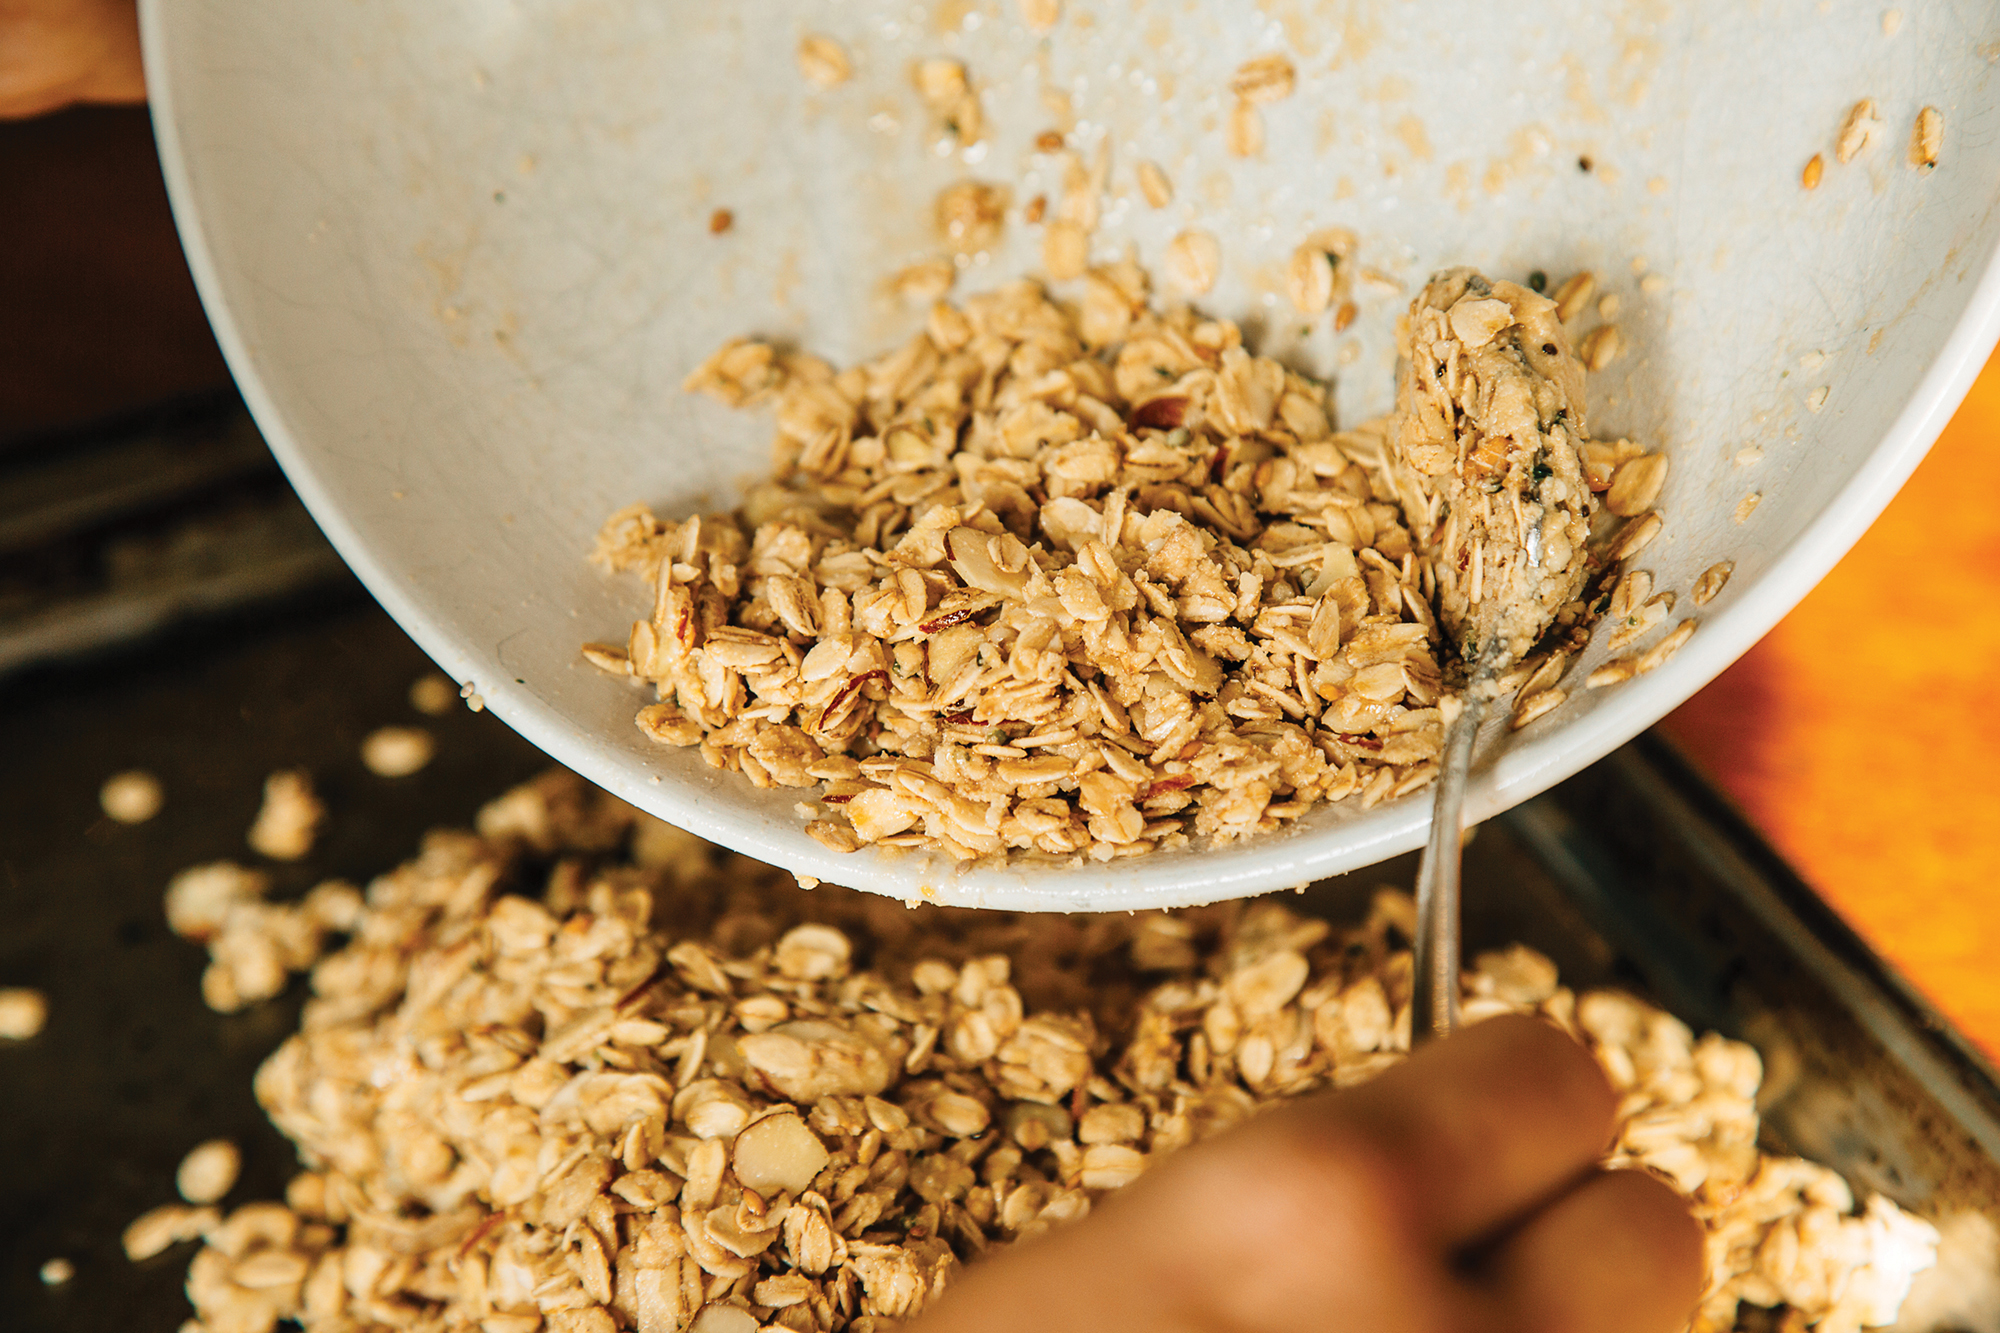
There are a million ways to make granola, but we’re strong proponents of mega clusters over a simple bag of tossed oats. We also prefer our granola to have some protein to keep us running throughout the day, especially in the backcountry, so we used coconut oil and maple syrup to give it the right consistency and added a ton of almonds, seeds, and powdered whey to lend some substance.
After you’ve finished baking, try presorting the granola in ziplock bags with some powdered milk. That way all you need to do is grab a bag, add some water, stir it up, and it’s ready to eat. And best of all, no dishes—just roll up the empty bag and pack it out.
- 2 cups rolled oats
- ½ cup coconut oil, melted
- ½ cup maple syrup
- ½ cup sliced almonds
- ¼ cup seeds (flax, chia, hemp, or any combination)
- 8 tablespoons whey protein
- 1 cup freeze-dried berries
- 3 tablespoons dry powdered milk
- Preheat oven to 350. In a large mixing bowl, mix all ingredients, except for the berries and milk powder, until thoroughly combined. Spread the mixture evenly on a cookie sheet.
- Bake for 14 minutes, stirring halfway. Remove from oven.
- Once the granola is cool, portion into two ziplock bags. Add ½ cup freeze-dried berries and 1½ tablespoons dry powdered milk to each bag.
- When ready to serve, add ½ cup cold water and stir well. Enjoy straight from the bag.
Spring Rolls
We know what you’re thinking already: that camping spring rolls are impossible. Not so! We promise we’re not sandbagging, these are way easier to make than they look. And to prove it, we actually made this batch in the field. All it took was 20 minutes in the morning and we had our lunch packed and ready to go.
Despite being a little intimidating and slightly exotic, spring rolls are actually a fantastic lunch for camping. They’re self-contained, packable, and designed to be eaten in hand. This recipe uses a package of shelf-stable tofu, which is surprisingly easy to find in most grocery stores. Instead of a straight soy sauce, we opted for a peanut butter Sriracha paste that functions as a durable binder. Not only does this add some extra protein to the rolls, but it also ensures they can withstand getting jostled around in the back of a pack. Add crunchy cucumbers and some cooling mint and you have a full-flavored meal.
- For the Sauce
- ½ cup peanut butter
- 2 tablespoons soy sauce
- 1 tablespoon Sriracha
- 1 teaspoon lime juice
- For the Rolls
- 12 spring roll wrappers
- 12 ounces tofu or cooked and shredded chicken
- 1 medium cucumber
- 1 bunch mint
- ½ cup sliced almonds
- In a small bowl, stir all the ingredients for the sauce together until well mixed.
- If using tofu, slice into 1-ounce portions. Cut the cucumber into sticks about 4 inches long and ¼ inch thick.
- In a pan large enough to fit the spring roll wrappers, heat ½ inch water to barely a simmer. Turn off the heat.
- To assemble, place one spring roll wrapper in the warm water for 20 seconds. Gently lift it out and spread it on an even work surface, such as a cutting board. Spread a scant tablespoon of the sauce on the top third of the wrapper, leaving a 2-inch margin on top and on each side. Layer on a few mint leaves, 1 ounce of tofu or shredded chicken, two or three cucumber sticks, and 2 teaspoons of sliced almonds.
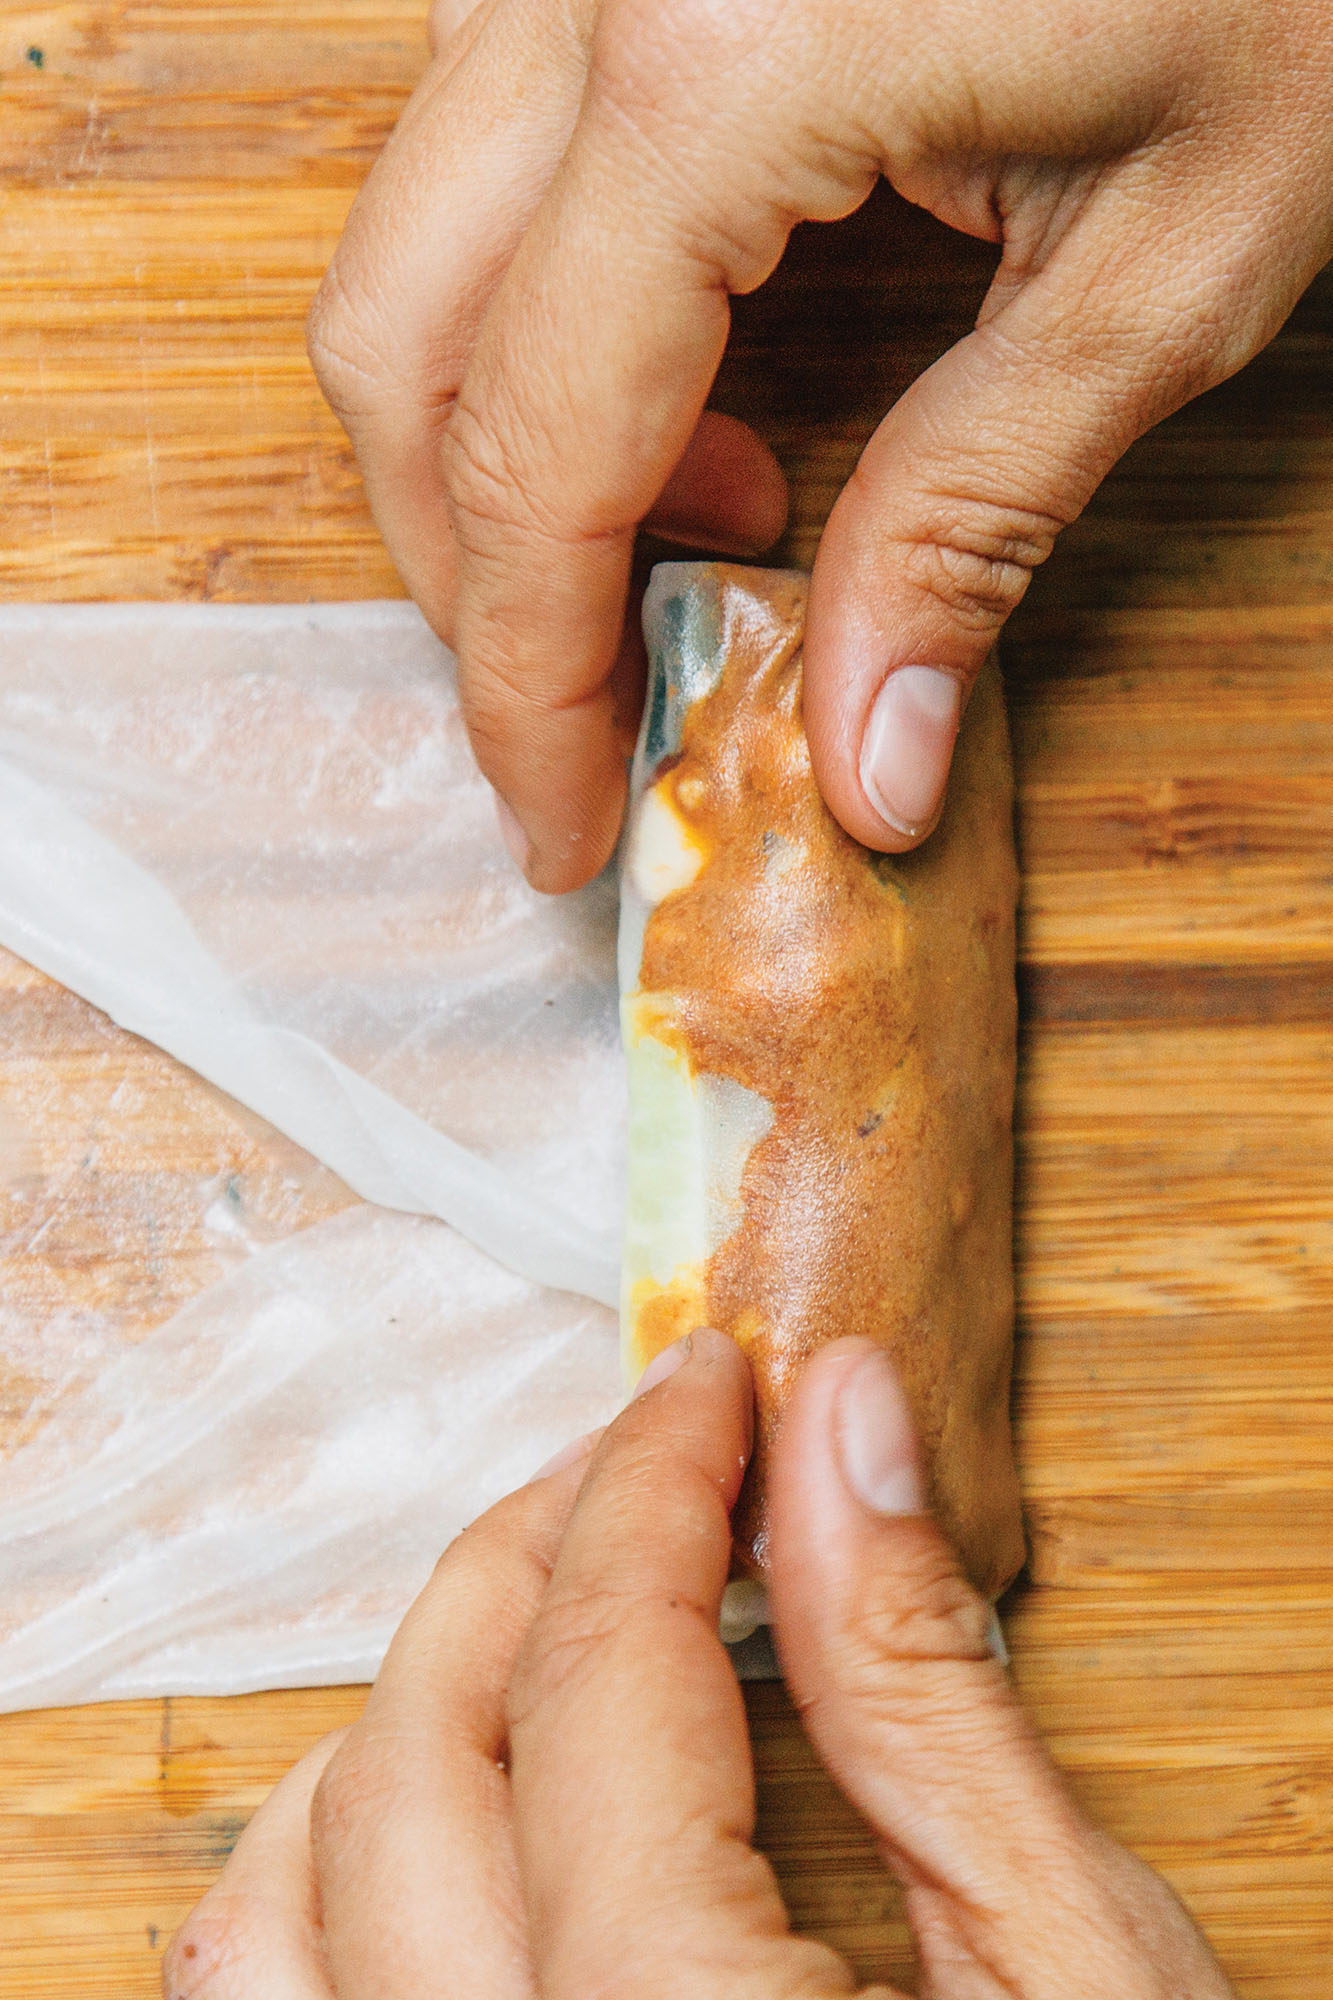
- Gently pull the sides of the wrapper up over the filling. Then pull the top of the wrapper up and over the filling. Use your fingers to tuck the ingredients in against the wrapper. Continue rolling until you reach the end of the wrapper, making sure to keep the ingredients tightly together as you go.
- Repeat to make 12 rolls. Store in two ziplock bags until you’re ready to enjoy.
Campfire Nachos
There’s one word that can sum up every order of nachos we’ve ever gotten from a restaurant: disappointment. Usually there’s a thin layer of cheese and toppings sitting on a gigantic mound of plain, dry chips. It’s an insult to the very idea of nachos.
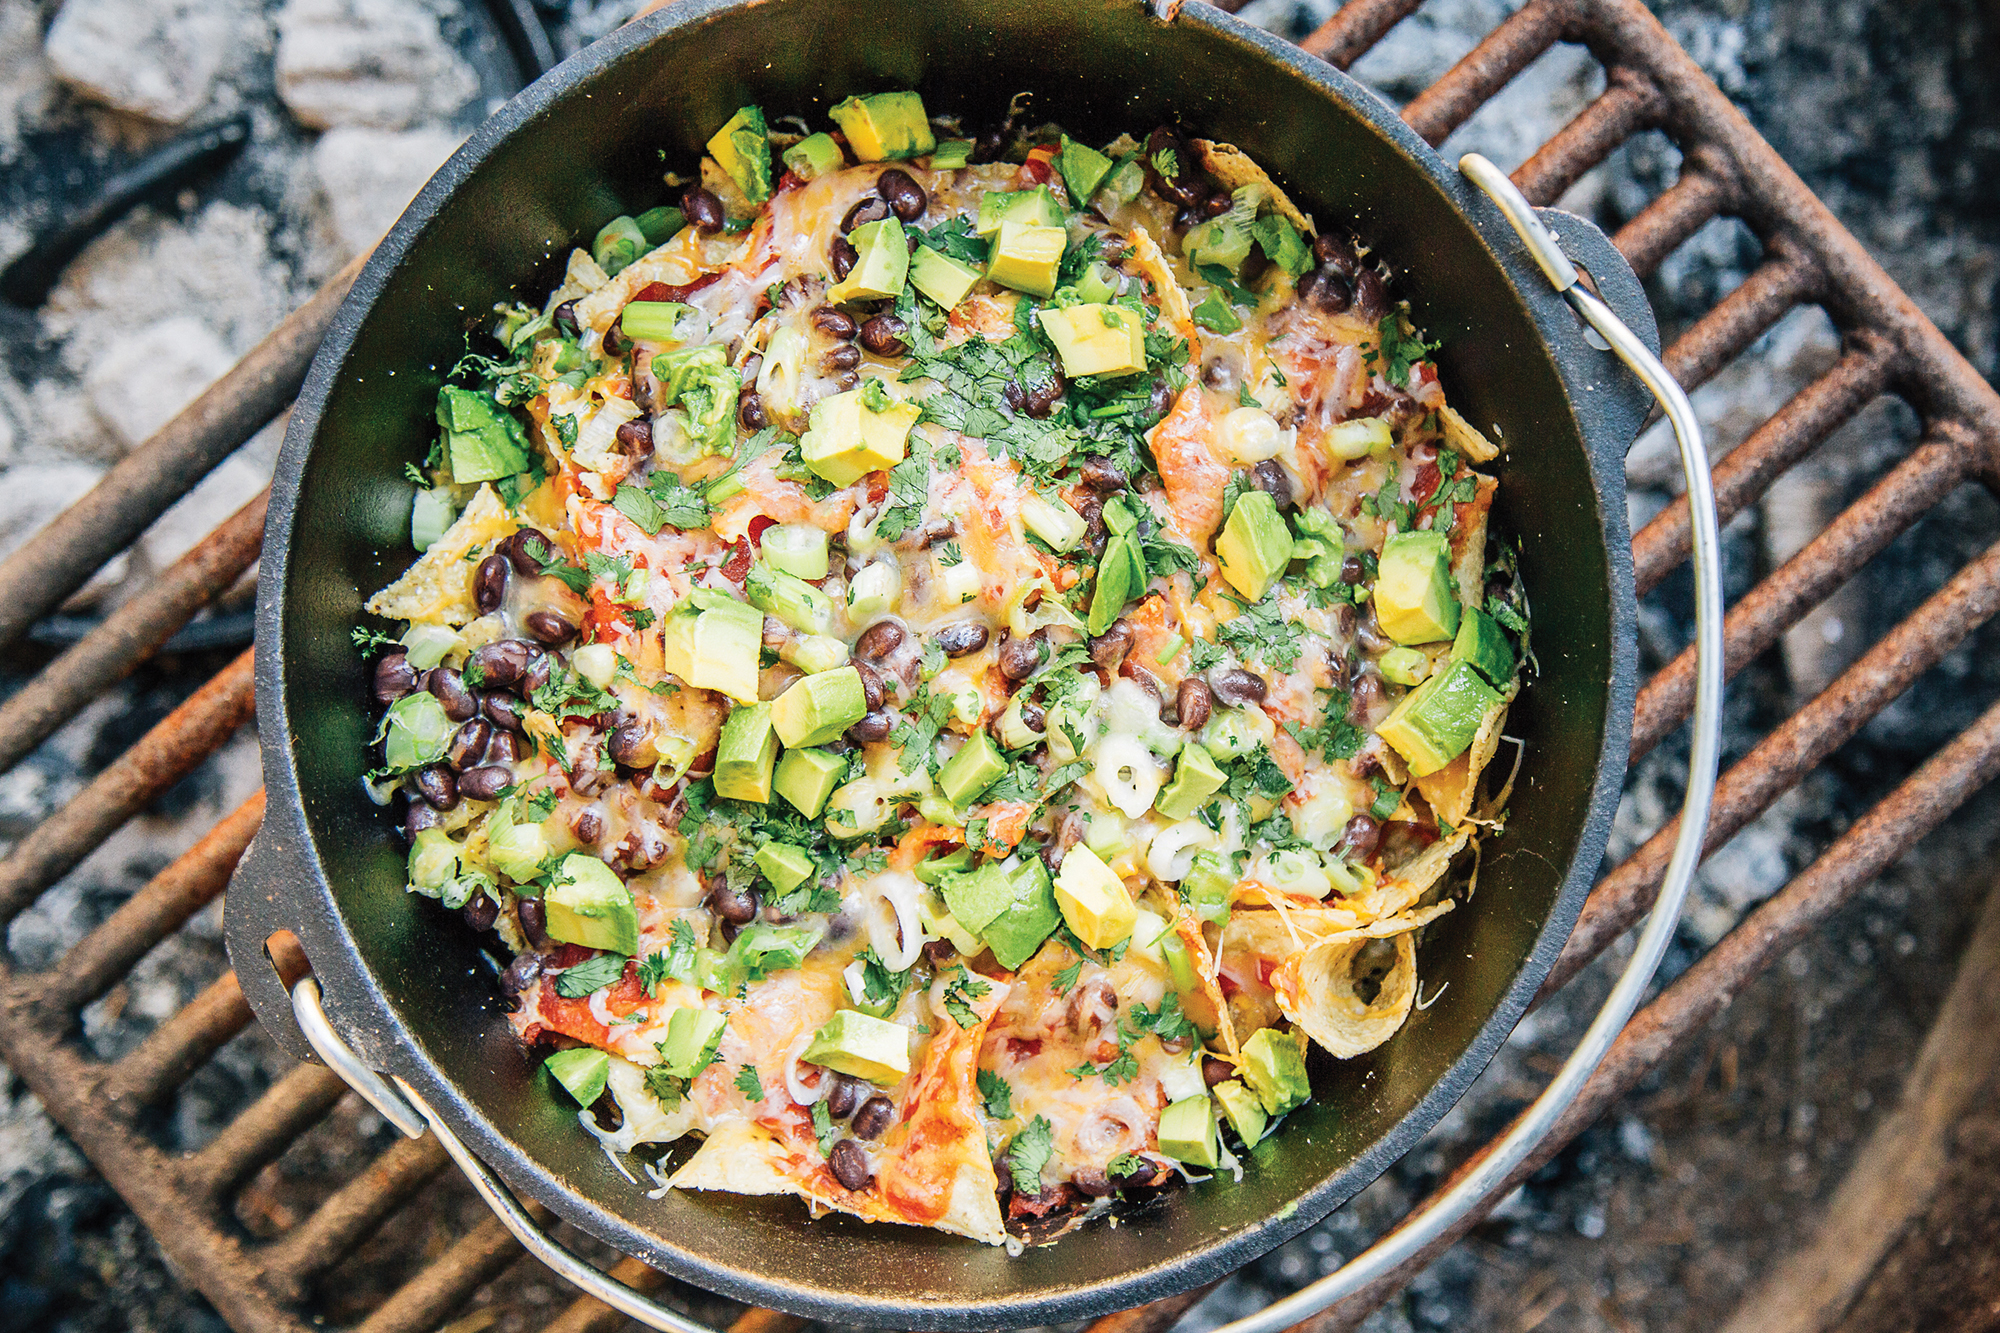
If you’re going to eat nachos for dinner, an act that we fully endorse, you have to build the meal properly from the ground up. Think of the chips as the bricks and the cheese and toppings as the mortar. One layer of chips followed by one layer of cheese and toppings. Then, repeat. Keep stacking the layers like that until the pot is filled. And of course, every good house needs a roof, so make sure you give a double helping to the top layer. Place over heat, go pour yourself a drink, and when you get back you’ll have a Happy Hour appetizer that’s worthy of being called dinner. And nachos worthy of the name.
- 1 tablespoon neutral-flavored oil
- ½ pound tortilla chips
- 1 (7.75-ounce) can El Pato hot tomato sauce, or equivalent
- 1 cup shredded Mexican cheese blend
- 1 (14.5-ounce) can black beans, drained
- 1 large avocado, cubed
- 4 to 5 green onions, sliced
- ¼ cup fresh cilantro, chopped
- 1 small lime, cut into wedges
- Lightly oil the bottom of a large Dutch oven, to prevent the nachos from sticking.
- For the first layer, evenly spread ⅓ of the chips in the Dutch oven, topped with ¼ can El Pato, ¼ can black beans, ¼ cup cheese, and a handful of avocado, green onions, and cilantro. Repeat for the second layer.
- For the third and final layer, use the remaining ⅓ portion of chips, ½ can El Pato, ½ can black beans, ½ cup cheese, and the remaining avocado, onion, and cilantro.
- Cover the Dutch oven and place on a metal grill over your campfire for about 10 minutes, until the cheese has melted. Serve with the lime wedges.
41 issues. 10 years. Independently owned. Printed on 70lb uncoated paper with a soft-touch cover, solar-powered, and shipped in a brown paper envelope. Free domestic shipping.