Three Square
Summer camp cooking: sourdough French toast, curried chickpea wraps, and cast iron pizza
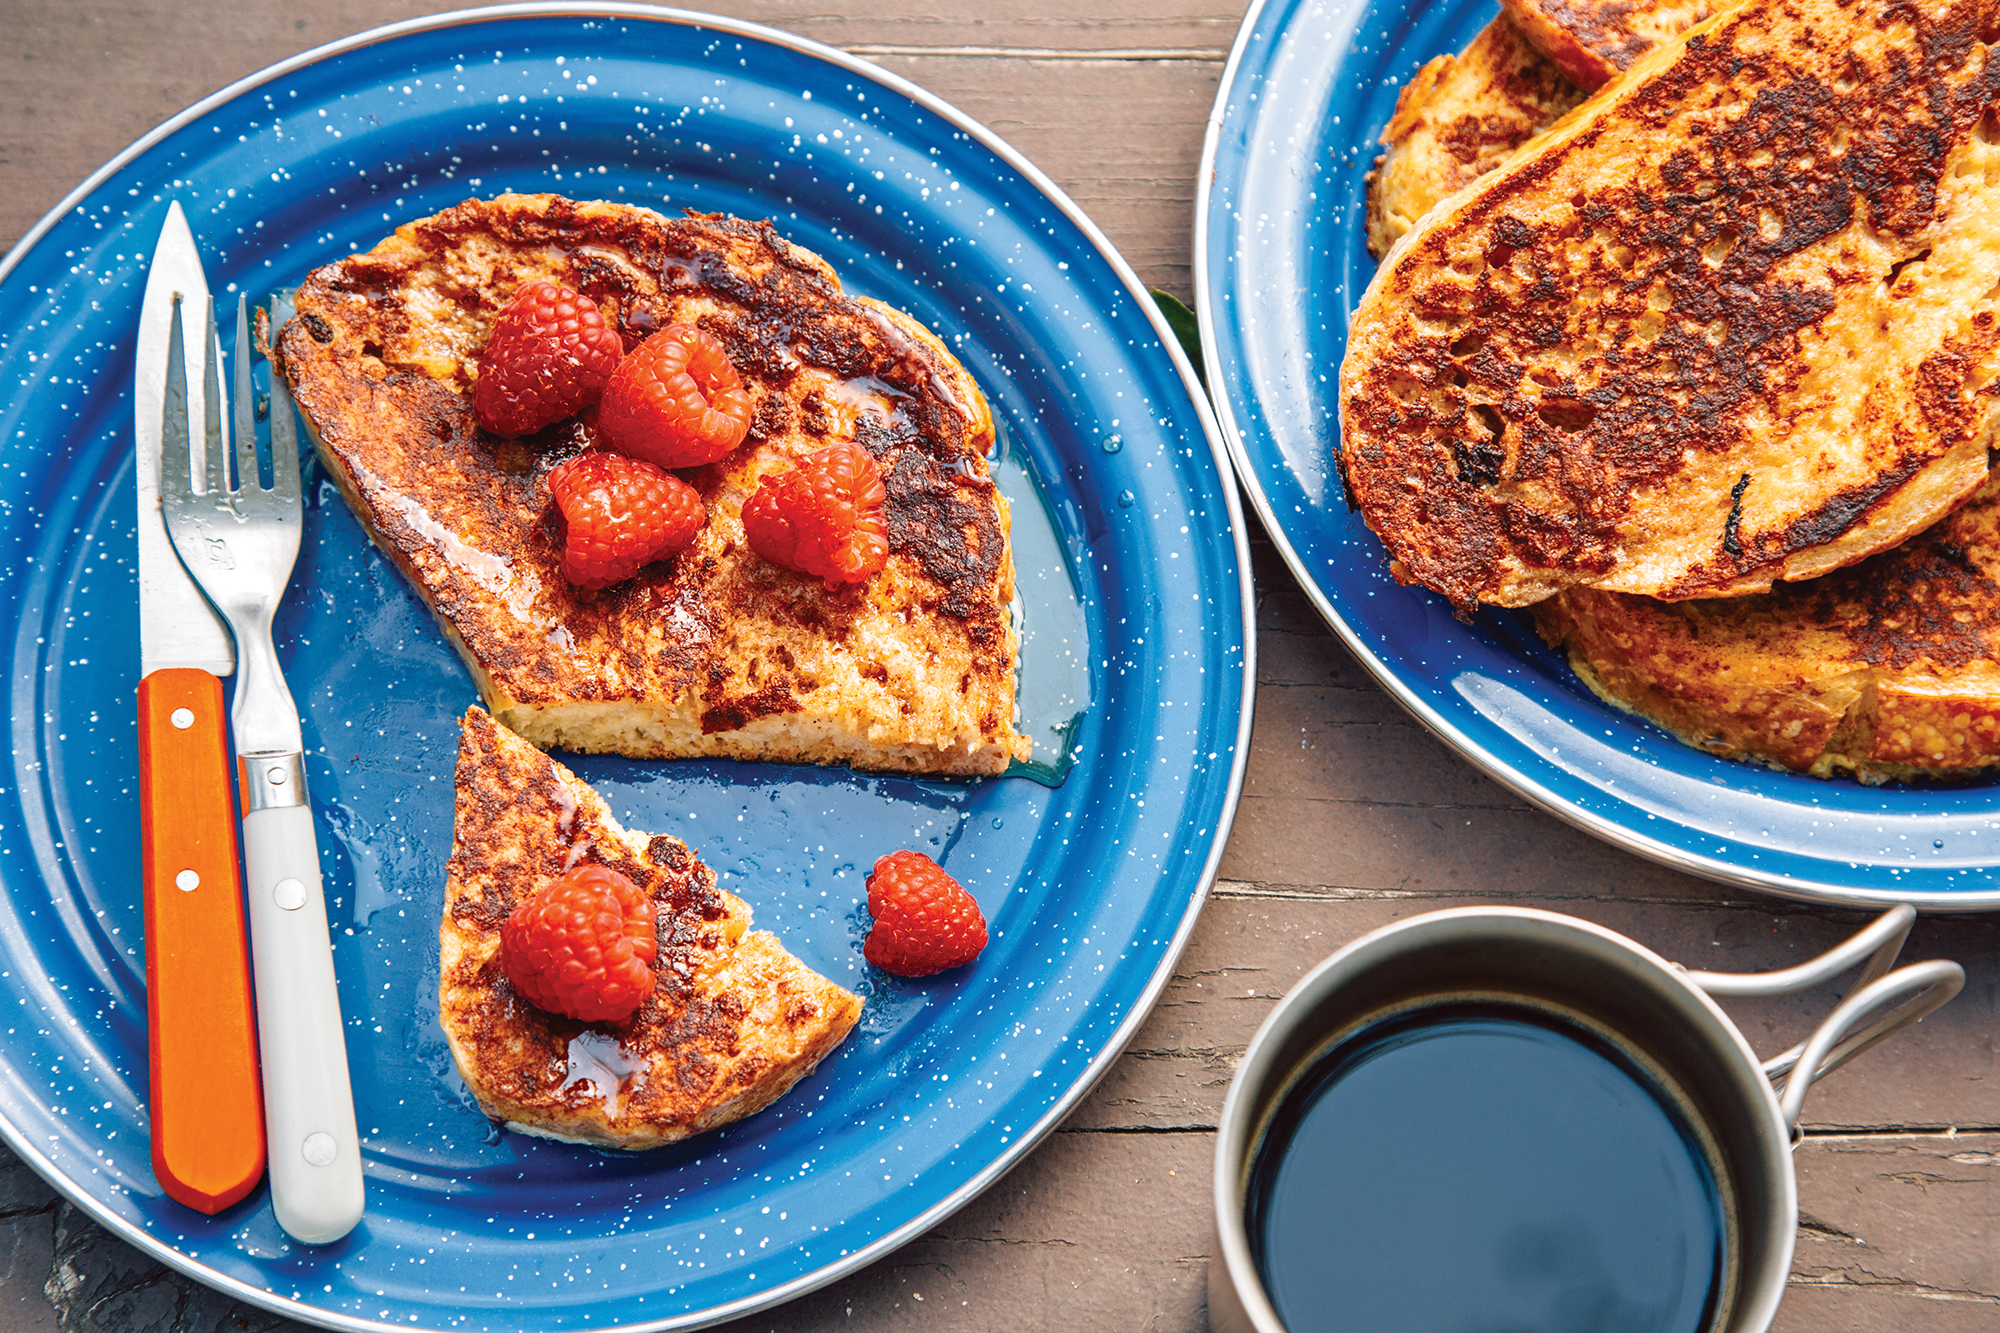
Sourdough French Toast
When you’re car camping, breakfast easily can turn into brunch. This leisurely meal/event fits in with the more relaxed pace of summer and can better accommodate those late-risers in your group. And what better way to soak up the morning than with a stack of French toast?
The trick to achieving exceptional restaurant-style French toast at a campsite (or anywhere for that matter) is to slice your own bread. Pre-sliced sandwich bread isn’t thick enough to soak up the egg and milk mixture. The result always seems to come out rubbery and overcooked. So pick up a full loaf of bread and cut it into generous one-inch-thick slices. For this recipe, we chose sourdough to give our toast a distinct tang, which paired nicely with the overall sweetness.
- 1-pound loaf sourdough bread
- 4 eggs
- ⅔ cup milk
- 1 teaspoon cinnamon
- 1 teaspoon vanilla extract
- ½ teaspoon salt
- 4 tablespoons butter
- Maple syrup and berries to top
- Cut the sourdough in 1-inch-thick slices.
- Beat the eggs, milk, cinnamon, vanilla, and salt together in a bowl large enough to accommodate a slice of the bread, until thoroughly mixed.
- Heat 1 tablespoon butter in a skillet over medium heat.
- Dip a slice of bread in the egg and milk mixture and let it soak for about 10 seconds on each side. Let the excess drip off and then fry it in the skillet until golden and crispy on each side, about 3 minutes per side.
- Repeat with the rest of the bread, adding more butter to the skillet as needed.
- Serve with maple syrup, fresh fruit, and a cup of hot coffee.
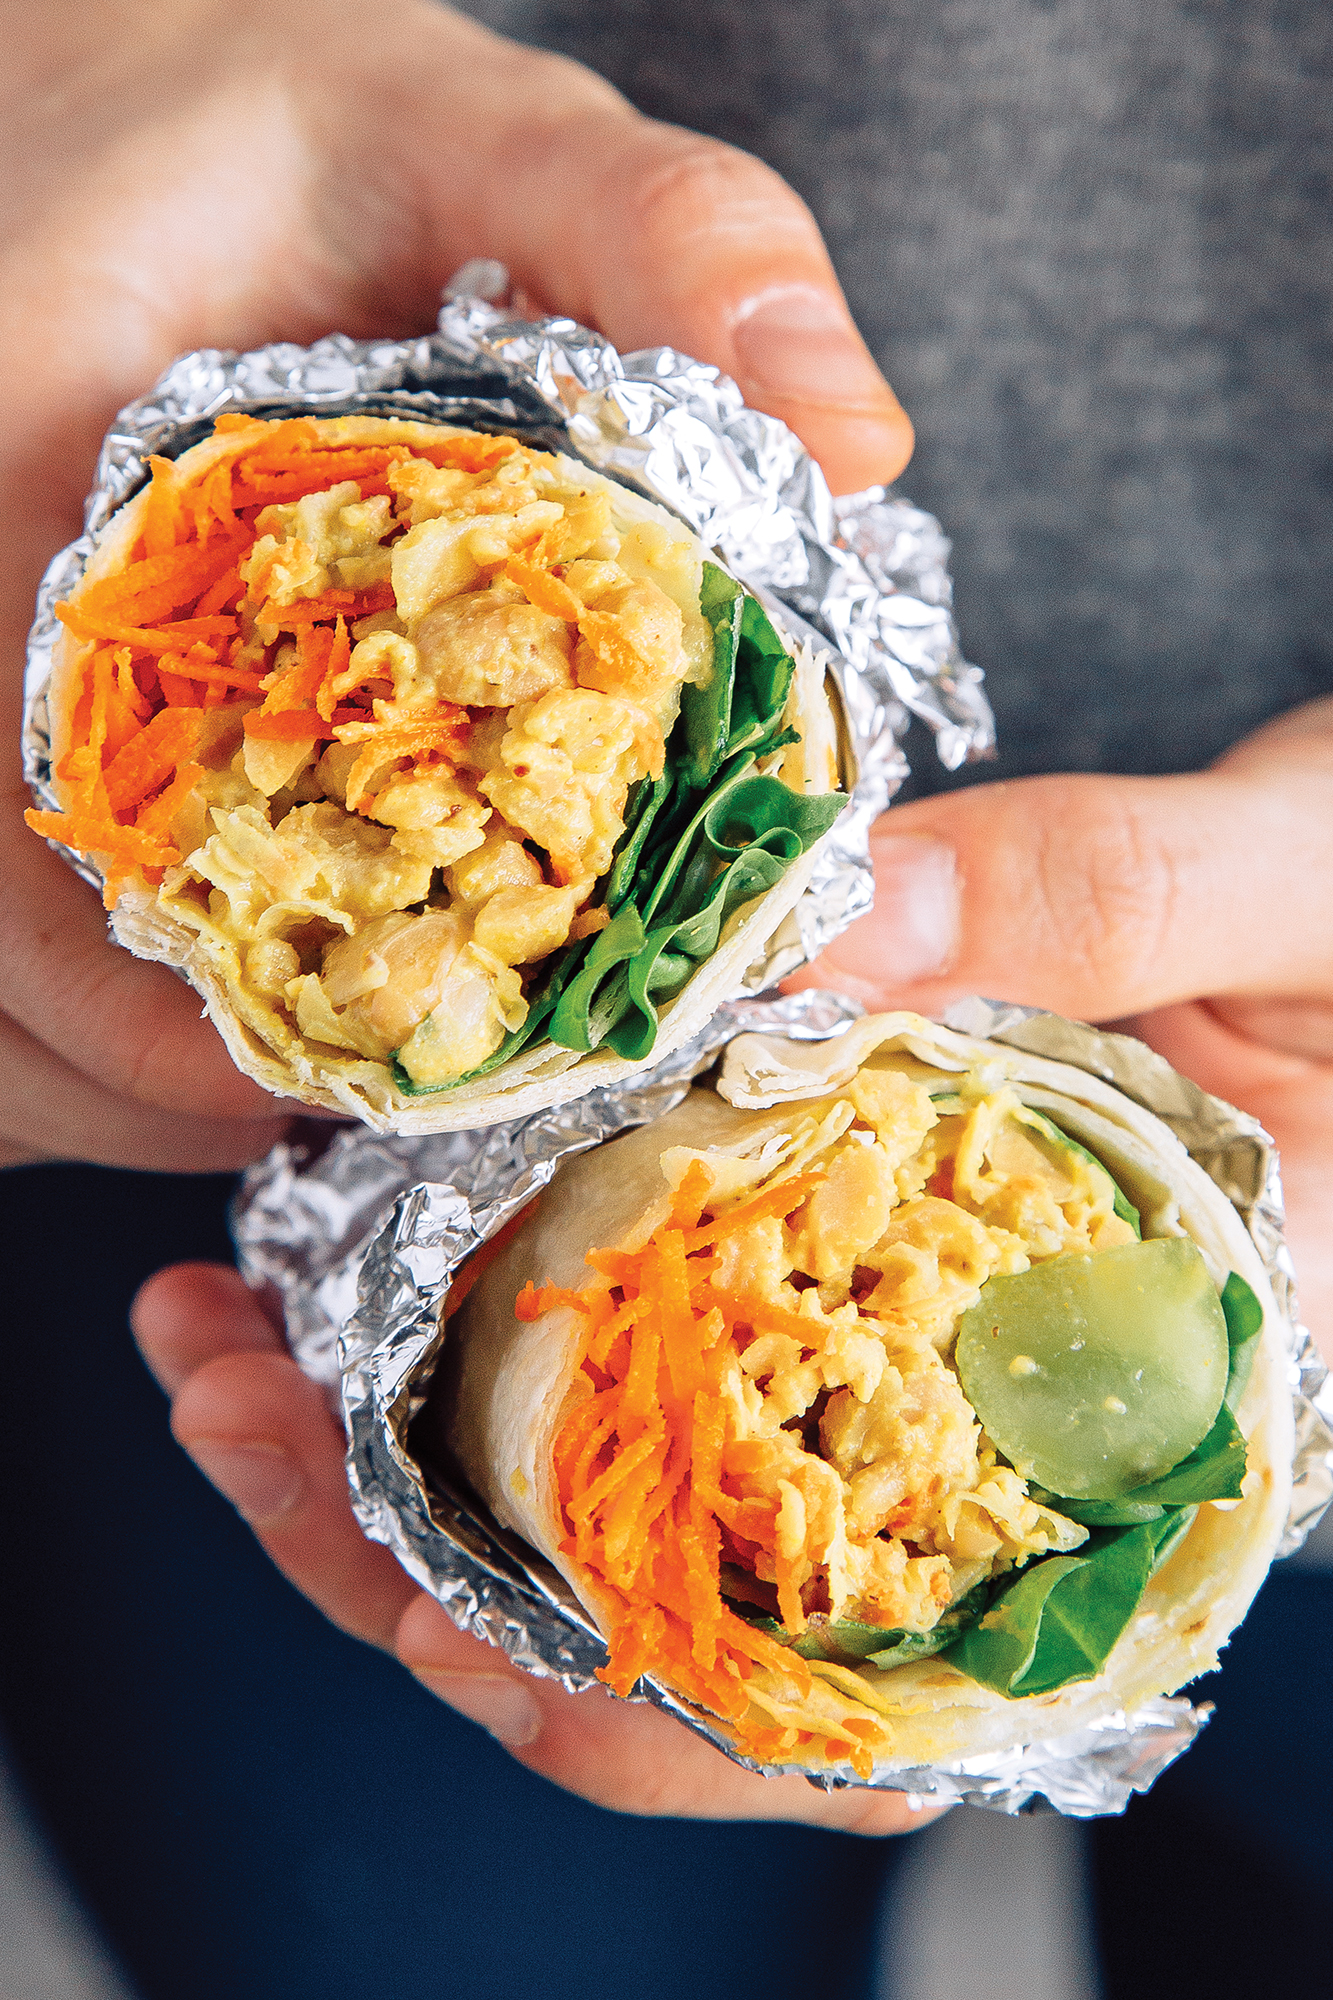
Curried Chickpea Salad Wrap
Car camping lunches can be as laid-back or as involved as you want, but we usually opt for something in the middle. We want a meal with substance, but don’t want to do a lot of dishes when we’re done. That’s why in-hand wraps are a great solution.
This chickpea salad wrap is a healthy, refreshing lunch that can be prepped on site or ahead of time at home. Just mix a can of chickpeas, some mayo, shredded carrots, green grapes, slivered almonds, and curry powder. Then load your wrap with a bed of baby greens and the chickpea salad. The chickpeas provide protein, the carrots offer color, almonds add crunch, and the grapes give the salad an unexpected pop. And, it’s super portable so you don’t have to stop enjoying the day. Just take your lunch on the go.
- 1 15-ounce can chickpeas, drained and rinsed
- 1 large carrot, shredded
- 1 cup green grapes, halved
- 1 cup baby greens
- 2 large wraps or flour tortillas
- For the Curried Mayo
- ⅓ cup slivered almonds
- ¼ cup mayo
- 1 tablespoon stoneground mustard
- 1 teaspoon curry powder
- ½ teaspoon salt
- Place the chickpeas in a wide bowl and gently mash with the back of a fork to break them apart (some whole beans are okay).
- In a small bowl, mix together all the ingredients for the curried mayo.
- Add the curried mayo to the bowl of chickpeas, stirring to coat the beans evenly. Add the grapes and mix.
- To assemble, lay down a bed of greens along one side of the wrap and scoop half the chickpea salad over it. Add the carrots. Roll the wrap burrito-style. Repeat to make the second wrap.
- These can be cut in half and served immediately or wrapped in foil and stored in your pack until lunch.
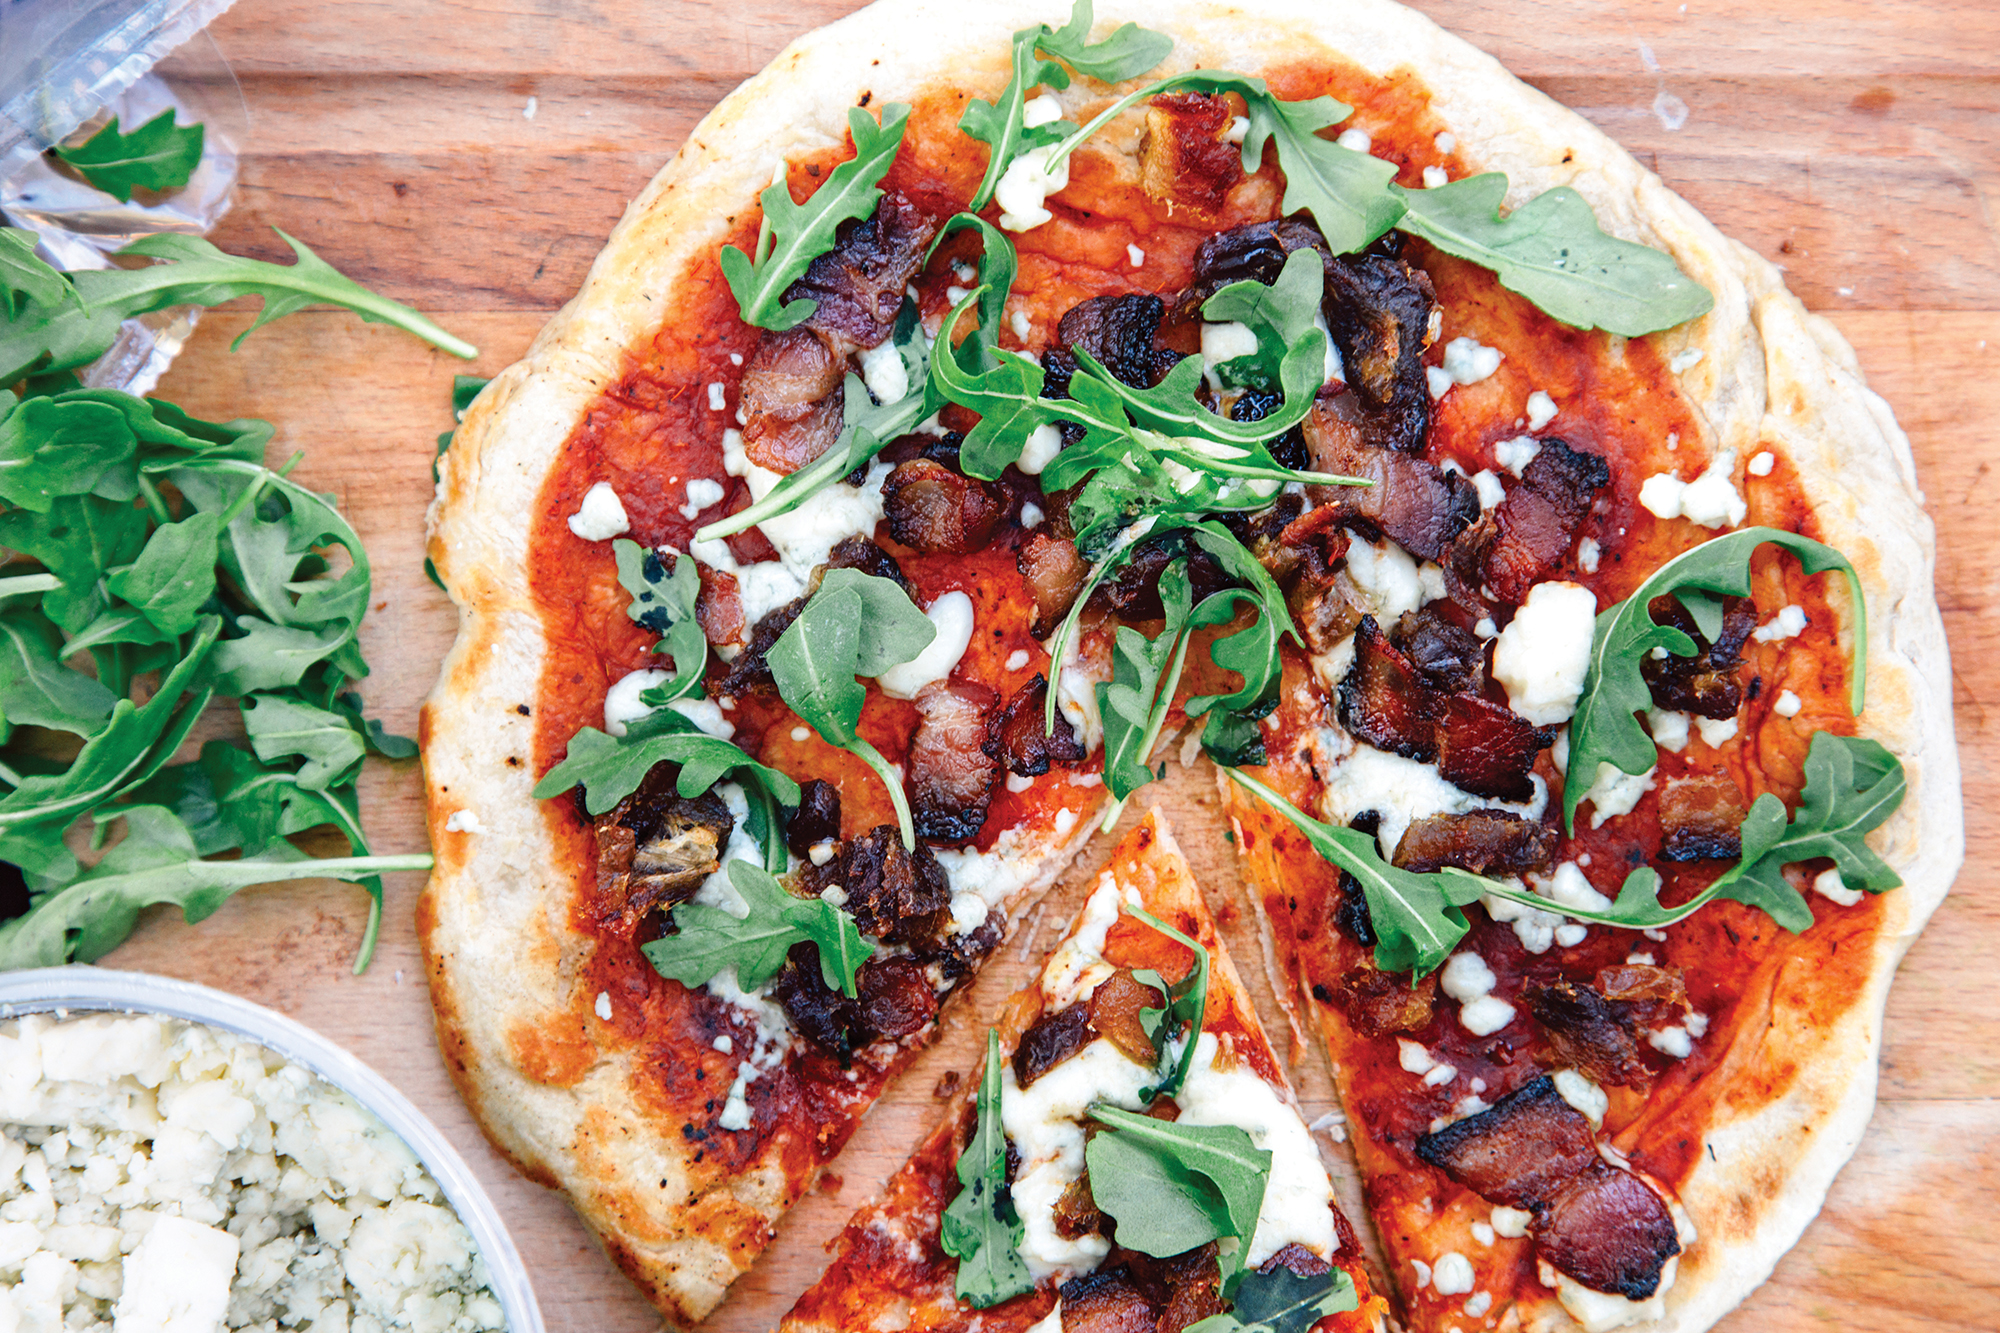
Cast Iron Pizza with Bacon and Dates
Dinner is when your skills as a camp chef are on full display. Especially if you’re camping with a group, this is your chance to impress. Many opt for the traditional camping classics: hot dogs, burgers, steaks—the typical tailgating fare. But why not take things to the next level and deliver something everyone wants but no one is expecting: pizza.
Making pizza over a campfire is a lot easier than you might think. The only “special” piece of equipment you need is a cast iron pan. Pre-made dough from the supermarket will hold up for a few days in a cooler, but it’s best to make this meal on the first or second night out. You can customize the toppings however you like, but we went with an admittedly decadent combination of bacon, dates, gorgonzola, and arugula. Once you’ve committed to making pizza in the woods, why not shoot for the stars?
- 4 strips bacon, chopped
- 1 pound pizza dough, divided
- 1 cup pizza sauce
- 2–3 Medjool dates, pitted and chopped
- ½ cup gorgonzola cheese, crumbled
- ½ cup arugula
- Over your campfire grill or camp stove, fry half the bacon in a 10-inch cast iron skillet until the fat renders out and it’s beginning to crisp up, 3 to 4 minutes. Remove the bacon pieces and set aside.
- Stretch the first portion of dough into a roughly 10-inch circle and then carefully press it into the skillet (it will still be hot). Cook for a few minutes, until the underside is starting to turn golden brown. Remove the skillet from the heat and flip the dough over with a spatula.
- Add half the sauce, cheese, bacon, and dates to the top of the pizza. Return to the heat and cook for another couple of minutes, until the dough is cooked through and the cheese is starting to melt. It helps if you’re able to cover the skillet with a lid, large plate, or tin foil.
- Remove and top with a handful of arugula.
- Repeat for the second pizza.
41 issues. 10 years. Independently owned. Printed on 70lb uncoated paper with a soft-touch cover, solar-powered, and shipped in a brown paper envelope. Free domestic shipping.